What's the Best Soldering Iron For a Hobbyist?
If you're a long-time reader, you probably know I am a huge electronics nerd. I also spent over a decade in the US Navy as an electrical tech. I've learned that soldering is much less science and is more of an art form. Having the best tools available helps you avoid bad solder joints that could cause hours of debugging and troubleshooting. People sometimes ask me my opinion on soldering irons, so here it finally is. I included helpful tools to help at the bottom, so don't skip over that part. Enjoy!

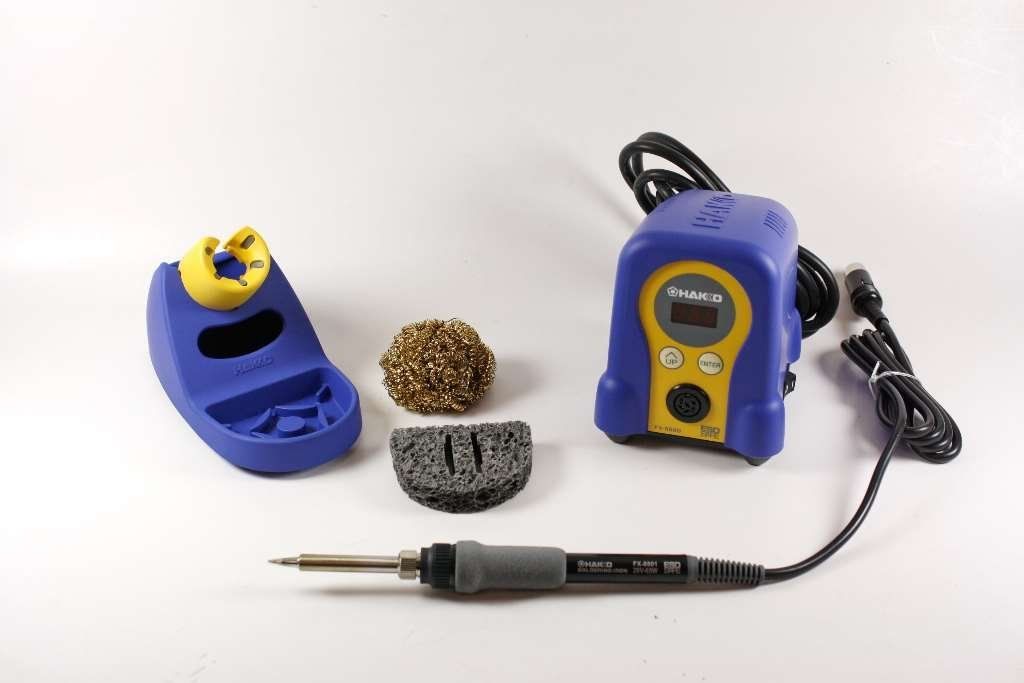
High End: I was asked what I wanted as a holiday gift not long ago. Until then, I'd used a cheap 10$ soldering iron for my home lab. It was terrible, and I knew exactly what I wanted since I'd been drooling over it for months. I'm the proud owner of a Hakko FX888 soldering station (shown above). I love this thing.
The number one feature is the ability to dial in a temperature. Also, it has the best temperature control you will find outside of a factory. The heat-up time is speedy, and there's even a light that comes on to show when you're at the requested temperature. Each brand of solder has a specific temperature you want to use, which is why temperature control is so important. The digital model (analog was sadly discontinued) even can preset five different temperatures depending on your work. This makes switching from soldering a few SMDs to connecting your main power cables to a transformer easy. The design is ergonomic (vital for long sessions) with an easy-to-reach power switch. All components are made of rugged metal or ceramic, so you know it will last a long time. It's a little pricey, so you might not be willing to make the jump yet (though it's well worth it).

Best Bang for Buck: This model of soldering iron is what I learned with in college. If you end up going with this, get a holder for it. You don't want a 35W soldering iron falling in your lap. I've done that once before, and it's a difficult injury to explain. This has enough heat output to satisfy everyone but lacks features you might otherwise want when working with SMD and small IC chips. As this model lacks temperature control, getting a perfect solder joint is much more challenging, and there is some risk of damaging smaller components. Overall, this type of soldering iron will last you 30 years. No frills, no-nonsense.

Entry Level: I think this is what everyone starts with. You generally find these piled up in the corner of the rat shack covered in dust. While it may be tempting to grab due to the low price, you're getting what you pay for. It comes with low-quality solder and some tools that will be replaced in no time. Expect the tips to break quickly and the iron to overheat occasionally.
Avoid: I cannot recommend a cold heat soldering iron. I bought one of these thinking it would be great for use in a dorm room... but not so much. You have to relearn how to solder, and the results are abysmal. Also, they're costly for the heat output you get. AVOID AT ALL COSTS.
Useful Tools:
- Solder flux. Being able to paint flux helps solder flow where you want it to. One bottle will last you a very long time. Ensure you get some isopropyl alcohol to help clean up the mess you make the first time.
- Acid brushes. I use the smallest ones I can find and cut the bristles down as short as possible. This works great for scrubbing dust off before you make a solder joint.
- Isopropyl alcohol. As I mentioned above, making sure everything is clean is very important. Soldering is like painting. It's 90% prep work, 10% execution. You can get this from any pharmacy or grocery store.
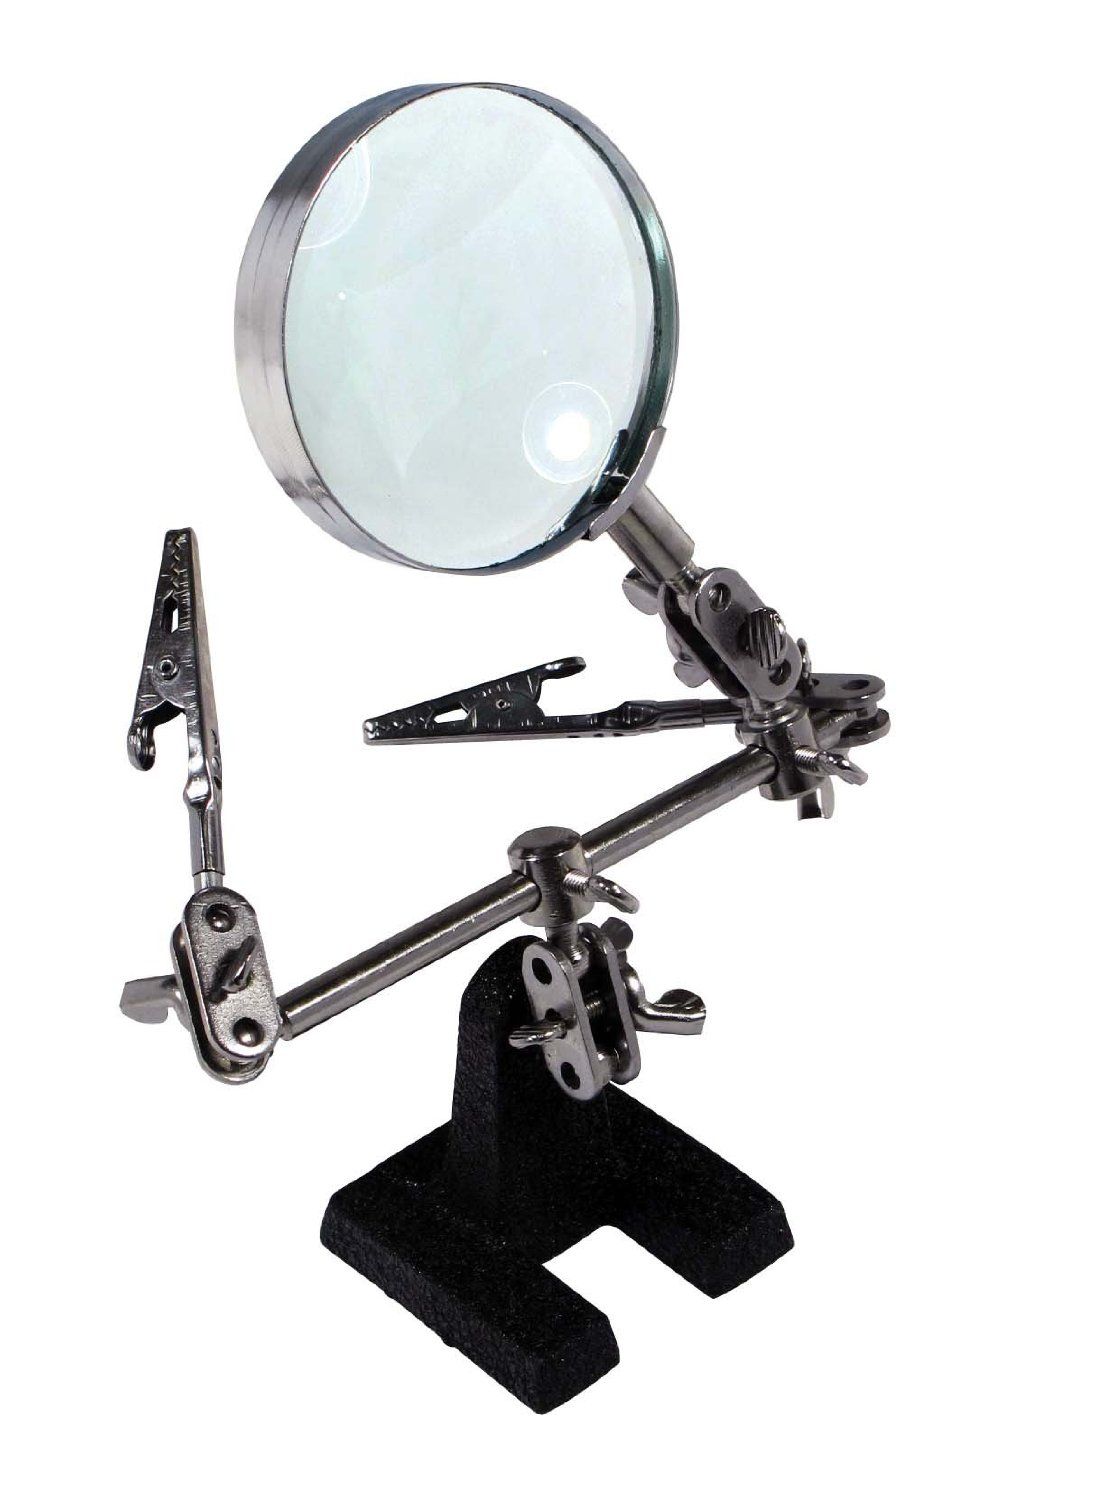
- Helping Hands magnifying station. This is a funny little thing I never expected to use as much as I do. It's great for pretty obvious reasons.
- Solder Sponge. If you don't already have one, get this. VERY useful in cleaning. I can't imagine soldering anything without it, honestly. Get both the brass wire type and the yellow sponge type. Have you noticed the pattern of obsessively cleaning everything yet?
- Solder that meets the requirements of your application. This is a tricky subject, but the short version is this: Use 63/37 when you want a low-temperature melt with no transition between solid and liquid. This is best for areas that are hard to reach or with components prone to thermal damage. Use 60/40, where you can use high heat as it produces fewer cold joints. Make sure you're using a solder of a diameter slightly smaller than the wire/leads you're working with.


Member discussion